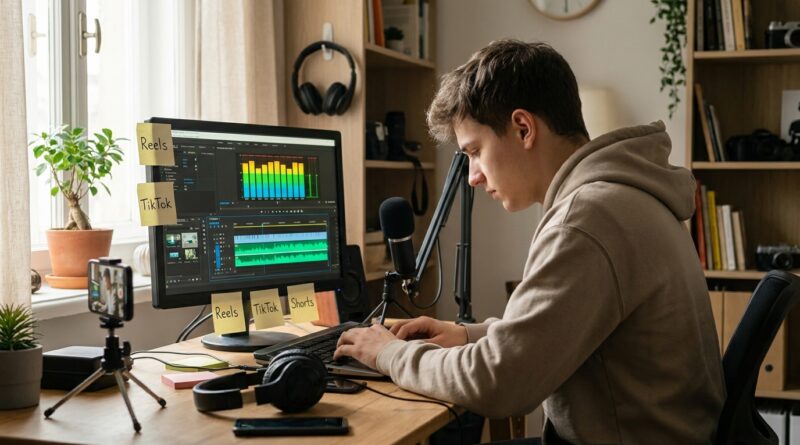
The ‘One-Click Audio Level’ Hack: Make Your Reels Sound Pro Without Touching a Mixer
You know the feeling. Your Reel looks sharp, the hook is solid, the captions are clean, and then you hit play and the sound ruins it. One clip is too quiet. The next one blasts. Your voice disappears under the music, then a sound effect jumps out like a car alarm. It is frustrating, and it is one of the biggest reasons people swipe before your story even starts. The good news is you do not need a full mixer, fancy plugin, or audio degree to fix it. If you film on your phone and edit in CapCut, VN, Premiere Rush, or even inside the social app, there is a simple one-click style workflow that gets you 90 percent of the way there. The trick is to normalize first, then set your voice as the boss, and make every other sound support it.
⚡ In a Hurry? Key Takeaways
- Use your editor’s loudness normalize, auto level, or volume match tool first. It quickly fixes uneven clip volume before you fine-tune.
- Keep spoken voice as the priority. Set music low enough that every word is clear, usually far lower than new creators expect.
- Check your final video on phone speakers and earbuds before posting. Audio that sounds fine in editing can still spike or get muddy on mobile.
Why audio is losing you viewers fast
People will forgive a slightly imperfect cut. They will not forgive painful sound. Short-form feeds move fast, and viewers make a split-second choice. If your opening line is too quiet, they miss it. If your second clip is suddenly much louder, they flinch and scroll.
That is why learning how to fix loudness and audio levels for reels and tiktok matters so much. Good audio feels invisible. It lets the message land without making the viewer work for it.
If you want a related shortcut for balancing everything on a single edit, this guide on The ‘One-Timeline Audio Balance’ Hack: Make Your Reels Sound Expensive In 60 Seconds pairs nicely with the workflow below.
The one-click hack, explained simply
Most editing apps now include some version of one-button audio help. The name changes, but the job is the same.
Look for tools with names like:
Normalize. Auto volume. Loudness adjustment. Enhance speech. Reduce loudness differences. Volume match.
When you tap that tool, the app scans your clips and brings them closer to a consistent level. It will not do a perfect Hollywood mix, but it solves the biggest problem fast. The huge jumps between clips.
Think of it like auto-brightness for sound. It gets you into the safe zone. Then you make a few small changes.
The fastest step-by-step workflow
1. Put your voice track first
If you are talking on camera, your voice is the main event. Everything else comes second. Drag in your talking clips or voiceover and listen to them alone first.
Make sure they are clear and roughly even before you add music.
2. Use the one-click loudness tool
Select your spoken clips and use the app’s normalize or auto level feature. If the app lets you apply it to all dialogue clips at once, do that.
This step usually fixes whisper-to-shout changes caused by filming in different rooms, at different distances, or on different days.
3. Cut obvious problem spikes by hand
One-click tools are helpful, but they are not magic. If one clip still explodes compared to the rest, lower just that clip a little. Usually 2 to 4 dB is enough.
If one clip is still too soft, raise it slightly instead of turning the whole project up.
4. Add music last, and keep it low
This is where most creators go wrong. They add a trending sound, love the vibe, and leave it too high.
As a simple rule, if there is speech, the music should feel like background wallpaper. Not a second speaker. Try lowering music until it feels almost too quiet, then play the video on your phone speaker. That level is usually closer to right.
5. Duck music under speech
If your app has “auto ducking” or “reduce music during voice,” turn it on. That is another near one-click fix. It lowers the song when you talk and brings it back between lines.
If your app does not have it, split the music under spoken parts and lower those sections manually.
6. Keep sound effects short and softer than you think
Sound effects should add punch, not cause panic. Whooshes, clicks, pops, and transitions can easily be too loud, especially on earbuds.
Start low. Raise only if the effect disappears completely.
7. Test on the device people actually use
Do not trust your editing preview alone. Play the export on your phone speaker, then on earbuds if you have them. Mobile speakers highlight harshness and buried vocals very quickly.
If your words are not clear on a plain phone speaker, fix it before you post.
The ideal level balance for most Reels and TikToks
You do not need to obsess over engineering numbers, but these rough priorities help.
For talking-head videos:
Voice should be clearly first. Music should sit well underneath. Effects should be brief and supportive.
For montage videos with no speaking:
Let music lead, but still smooth out clip-to-clip changes so one source clip does not suddenly blast louder than the soundtrack.
For tutorials and explainers:
Clarity beats vibe every time. If you have to choose between cool music and understandable speech, pick understandable speech.
What to do in popular editing apps
The names differ, but the workflow stays pretty much the same.
CapCut
Look for options like noise reduction, enhance voice, loudness adjustment, or volume controls per clip. Normalize your spoken clips first, then lower music aggressively.
VN
Use clip volume controls and any available voice enhancement tools. VN is simple, but that can be a good thing. Fewer knobs means fewer mistakes.
Premiere Rush or Premiere Pro
Use auto-ducking, speech enhancement, and loudness matching tools. If that sounds advanced, do not worry. The presets do most of the work.
Instagram or TikTok editor
If you edit in-app, use the separate sliders for original audio and added sound. Keep original audio high enough for speech and pull the added track lower than your instinct says.
Common mistakes that make audio feel amateur
Starting with music instead of voice
If you mix around the song first, your words usually lose.
Using one volume setting for the entire song
Intro music can be a bit stronger before you speak. Once talking begins, it should drop.
Ignoring clip-to-clip differences
Even if your overall export is not too loud, sudden jumps between clips still feel messy.
Overusing cleanup tools
Too much noise reduction or enhancement can make your voice sound underwater or robotic. Use enough to clean it up, not enough to change who you are.
If you want the simplest “good enough” formula
Here is the fast version.
- Normalize or auto-level all speaking clips.
- Make small manual fixes to any obvious loud or quiet lines.
- Add music and lower it until your speech is easy to follow on phone speakers.
- Use auto ducking if available.
- Check the export on your actual phone before posting.
That alone will make your content sound more polished than a huge chunk of what is posted every day.
When one-click tools are enough, and when they are not
For most creators, one-click loudness help is enough for daily posting. Especially if you are filming on a phone, posting often, and trying to keep your workflow light.
Where it falls short is very noisy footage, extreme shouting, whispering, or clips recorded with totally different microphones. In those cases, you may still need a few manual volume edits.
But that is okay. The goal is not perfection. The goal is consistent, comfortable sound that keeps people watching.
At a Glance: Comparison
| Feature/Aspect | Details | Verdict |
|---|---|---|
| One-click loudness tools | Fast way to smooth uneven clip volume using normalize, auto level, or volume match | Best first step for almost every Reel or TikTok |
| Manual music lowering | Needed to keep vocals clear once trending sounds or background tracks are added | Usually the difference between amateur and polished |
| Phone speaker test | Reveals buried vocals, harsh effects, and volume spikes that studio headphones can hide | Do this every time before posting |
Conclusion
You do not need a mixer to sound like you know what you are doing. You need a repeatable workflow. Start with one-click loudness correction, make your voice the priority, push music lower than feels natural in the edit, and always test on a real phone. Short-form feeds are brutally unforgiving right now, and viewers swipe the second volume spikes or vocals get buried, even when the visuals are strong. A clear, step-by-step loudness workflow helps you post more often with sound that feels clean and premium on any device. That is the part most AI and template tutorials still miss, and it is also the part your audience notices right away.