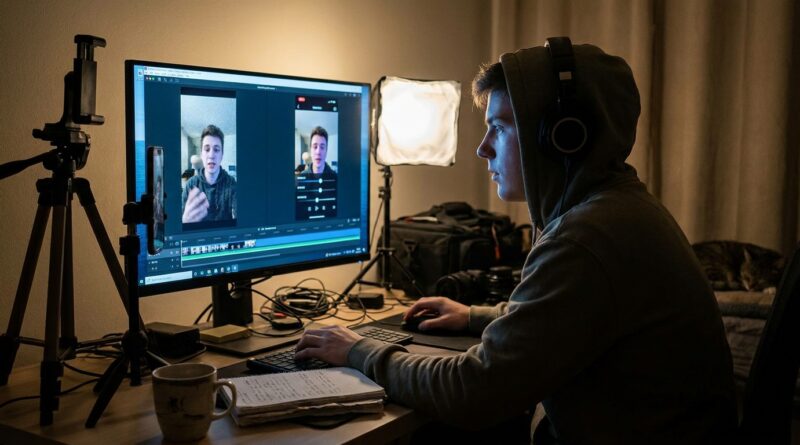
The ‘One-Pass Clean-Up’ Hack: Fix Shaky, Noisy Reels With A Single AI Enhancement Layer
You know the feeling. You finally record a reel that sounds natural, your timing is good, and you do not hate your face in the first frame. Then you watch it back and spot the usual mess. The clip is a little shaky. The shadows are crawling with grain. Your skin tone looks flat, and somehow the whole thing feels dull next to everything else in the feed. That is where a one-pass AI clean-up step can save your sanity. Instead of learning pro color tools or stacking six tiny fixes, you run the clip through one enhancement layer that handles stabilization, noise reduction, and basic lighting correction in one go. It is not magic, and it will not turn bad footage into cinema. But for ai video enhancement for social media reels, it is often the fastest way to get from “almost usable” to “post it now.”
⚡ In a Hurry? Key Takeaways
- A single AI enhancement pass can fix mild shake, reduce grain, and improve lighting enough for most Reels, TikToks, and Shorts.
- Use AI clean-up after your rough cut, not before, so you only process the clips you are actually posting.
- Keep the effect moderate. Too much stabilization or denoise can make faces look waxy and motion look weird.
What the “one-pass clean-up” hack actually means
This is not about pressing an “auto make it viral” button. It is much simpler than that.
The idea is to add one AI-powered enhancement step near the end of your workflow. You trim your reel, arrange your clips, add captions if needed, then apply one clean-up layer that tackles the three things viewers notice fast: shake, noise, and lifeless exposure.
That could be inside CapCut, Meta Edits, or a desktop app with AI video tools. Some apps label it as enhance, auto improve, denoise, stabilize, relight, or low-light correction. The names vary. The goal stays the same.
You want one step that makes your footage look calmer, cleaner, and brighter without turning editing into a weekend project.
Why this works so well for short-form creators
Most social clips do not fail because they were not shot on a $2,000 camera. They fail because they feel rough in distracting ways.
People will forgive a casual setup. They will forgive phone footage. They will even forgive imperfect framing. What they do not love is visual noise, jittery movement, and muddy shadows that make a clip feel cheap or hard to watch.
AI tools are now good at cleaning up those problems in the background. That matters because the real bottleneck for many creators is not ideas. It is getting clips into publishable shape quickly and consistently.
If your footage already has decent content, a one-pass fix can be enough.
What a good one-pass AI enhancement should handle
1. Light stabilization
If your hand moved a little while walking or talking, AI stabilization can smooth that out. You want “less jitter,” not “floating drone shot.” Too much can crop the frame hard or create warping near the edges.
2. Noise reduction
This is the big one for indoor phone footage. Grain in dark walls, blotchy skin, and dancing pixels in the background are dead giveaways of low-light video. A modest denoise pass can make the whole clip feel more premium.
3. Basic exposure and color correction
You are not trying to become a colorist. You just want the clip to stop looking gray and tired. Good AI enhancement can lift shadows, pull back harsh highlights, and add a touch of contrast and color balance.
4. Sharpness, carefully
Some tools add detail after denoising. That can help. It can also make hair, pores, and text look crunchy if pushed too far. Treat sharpening like hot sauce. A little wakes things up. Too much ruins dinner.
The easiest workflow for ai video enhancement for social media reels
Here is the practical version.
Step 1: Shoot normally, but avoid total chaos
You do not need a gimbal. Just give the AI something workable. Hold your phone with two hands when you can. Wipe the lens. Face a window if you are indoors. Those tiny habits make enhancement work much better.
Step 2: Make your rough cut first
Do your trims, remove bad takes, and build the short version before any heavy processing. This saves time and storage, especially if you batch-edit several clips in one session.
Step 3: Apply one AI enhancement layer
Look for the tool in your app that combines improvements instead of stacking separate effects. If your editor does not have one all-in-one option, choose the minimum combo of stabilize plus denoise plus auto lighting.
Start at medium strength. Not max.
Step 4: Preview faces and movement
Watch skin, hair edges, hands, and any fast motion. These are the first places AI processing can get strange. If faces look plasticky or motion bends in the background, back off the settings.
Step 5: Export once
Try not to run the same clip through multiple exports and re-uploads. Every pass can soften detail or add compression. Clean it once, export it cleanly, and move on.
Where to put this in your current editing app
If you use CapCut, this usually fits right after your edit is locked and before final export. In desktop tools, it often works best as an adjustment layer or clip effect near the end of the timeline. In simpler mobile apps, it may just be a single “enhance” toggle.
The point is not the brand. The point is the order. Edit first. Clean up second. Export last.
And while you are polishing visuals, do not forget sound. A lot of creators spend forever fixing picture and ignore the thing that makes people swipe away faster. If that sounds familiar, read The ‘Audio-First Polish’ Hack: Fix Your Sound In 5 Minutes And Instantly Boost Watch Time. It pairs perfectly with this workflow.
When one-pass AI clean-up works best
This hack shines when your footage is close, but not quite there.
- Talking-head reels shot indoors
- B-roll captured while walking
- Older phone clips with mild grain
- Short-form product demos
- Travel clips shot quickly in mixed lighting
In all of those cases, the footage usually does not need a full professional rescue. It just needs to stop looking distracting.
When it will not save you
It helps to be honest here.
If your clip is badly out of focus, clipped to pure white, crushed into black, or shaking like you filmed during an earthquake, AI will not perform a miracle. It may improve things a bit, but there is a line.
Also, if you are already stacking filters, beauty effects, and aggressive HDR looks, one more automated fix can push the video into fake-looking territory fast.
Use it to clean. Not to hide everything.
Common mistakes that make AI enhancement look worse
Using maximum stabilization
This often creates that rubbery “jello” look in walls and door frames. Mild is usually better.
Over-denoising skin
If your face starts looking like it was painted with a sponge filter, pull it back. Viewers may not know why it looks odd, but they will feel it.
Trying to fix every clip the same way
Daylight footage and dim bedroom footage do not need identical settings. One-pass does not mean one-size-fits-all. It means one simple finishing step per clip.
Ignoring export quality
You can clean up a video beautifully, then wreck it with a low-bitrate export. Use the highest practical export settings your app allows for vertical video.
A simple “good enough” settings mindset
If you want a rule of thumb, aim for this:
- Stabilization: low to medium
- Noise reduction: medium for dark footage, low for bright footage
- Exposure or relight: just enough to lift faces
- Sharpening: very low, or off unless the clip looks soft
- Saturation: subtle, not neon
Your goal is not to make people think, “What amazing post-production.” Your goal is to make them not think about the quality at all.
How to batch-rescue older clips
This is where the hack gets really useful.
If you have a folder full of almost-good clips, run a test on three of them first. Pick one bright clip, one dark clip, and one shaky clip. Apply your clean-up settings and compare before and after.
If the results hold up, use the same general pass for similar footage in batches. That can turn stale camera-roll leftovers into a week of usable posts.
For creators trying to post more often, this is often the smartest use of AI. Not making brand-new fake content. Just rescuing the stuff you already shot and never published.
At a Glance: Comparison
| Feature/Aspect | Details | Verdict |
|---|---|---|
| Speed | One enhancement pass is much faster than manual stabilization, denoise, and color correction in separate steps. | Best for creators posting often |
| Image quality | Works well on mildly shaky, grainy, flat phone footage, but struggles with badly damaged clips. | Very good, if the original is decent |
| Ease of use | Fits neatly into CapCut, Edits, and desktop workflows without learning advanced grading tools. | Excellent for non-techy creators |
Conclusion
You do not need to become a camera nerd to make better reels. Right now, a lot of creators are quietly winning by shooting fast on their phones and letting AI handle the boring cleanup in the background. That is the real value of a one-pass system. It removes friction. You keep your scrappy, quick shooting style, but your footage stops looking cheap. And because platforms reward consistency, that matters more than chasing perfection. If you can build one reliable AI clean-up step into your CapCut, Edits, or desktop workflow, you can rescue old clips, speed up new ones, and publish more often without spending hours inside a full editing suite or buying a mirrorless camera. Good enough, posted consistently, still beats perfect footage sitting in your drafts.